Checkmate A1500 plus - Build log, part 1

So Christmas came early this year. I've followed the Checkmate A1500 plus case project since the kickstarter was launched, but didn't commit to buy until last August. The case arrived about 2 months later, and it's absolutely awesome. For this special build I gathered some bits and bobs to get started with; namely an Indivision ECS v2 and a Buddha IDE from Individual Computers. So without further ado, let's go.

Some of the planned parts:
- An Amiga 500 motherboard, Rev. 6A
- Zorro II riser card for the Checkmate case (top left)
- 3½" hard drive (bottom right)
- Indivision ECS v2 and Buddha IDE (center bottom)
- Workbench 3.1.4 from Hyperion Entertainment (floppies + rom installed)
- Kolink SFX-450 power supply
The Checkmate A1500 case can be bundled with a keyboard kit that allows one to whack the original Amiga keyboard internals to an empty keyboard shell. It looks like this:

Wiring the keyboard is done with a separately sold kit, which I forgot to include. The kit uses ordinary 7-pin DIN connectors and Harwin connectors, which should be are available at any brick-and-mortar electronics shop.
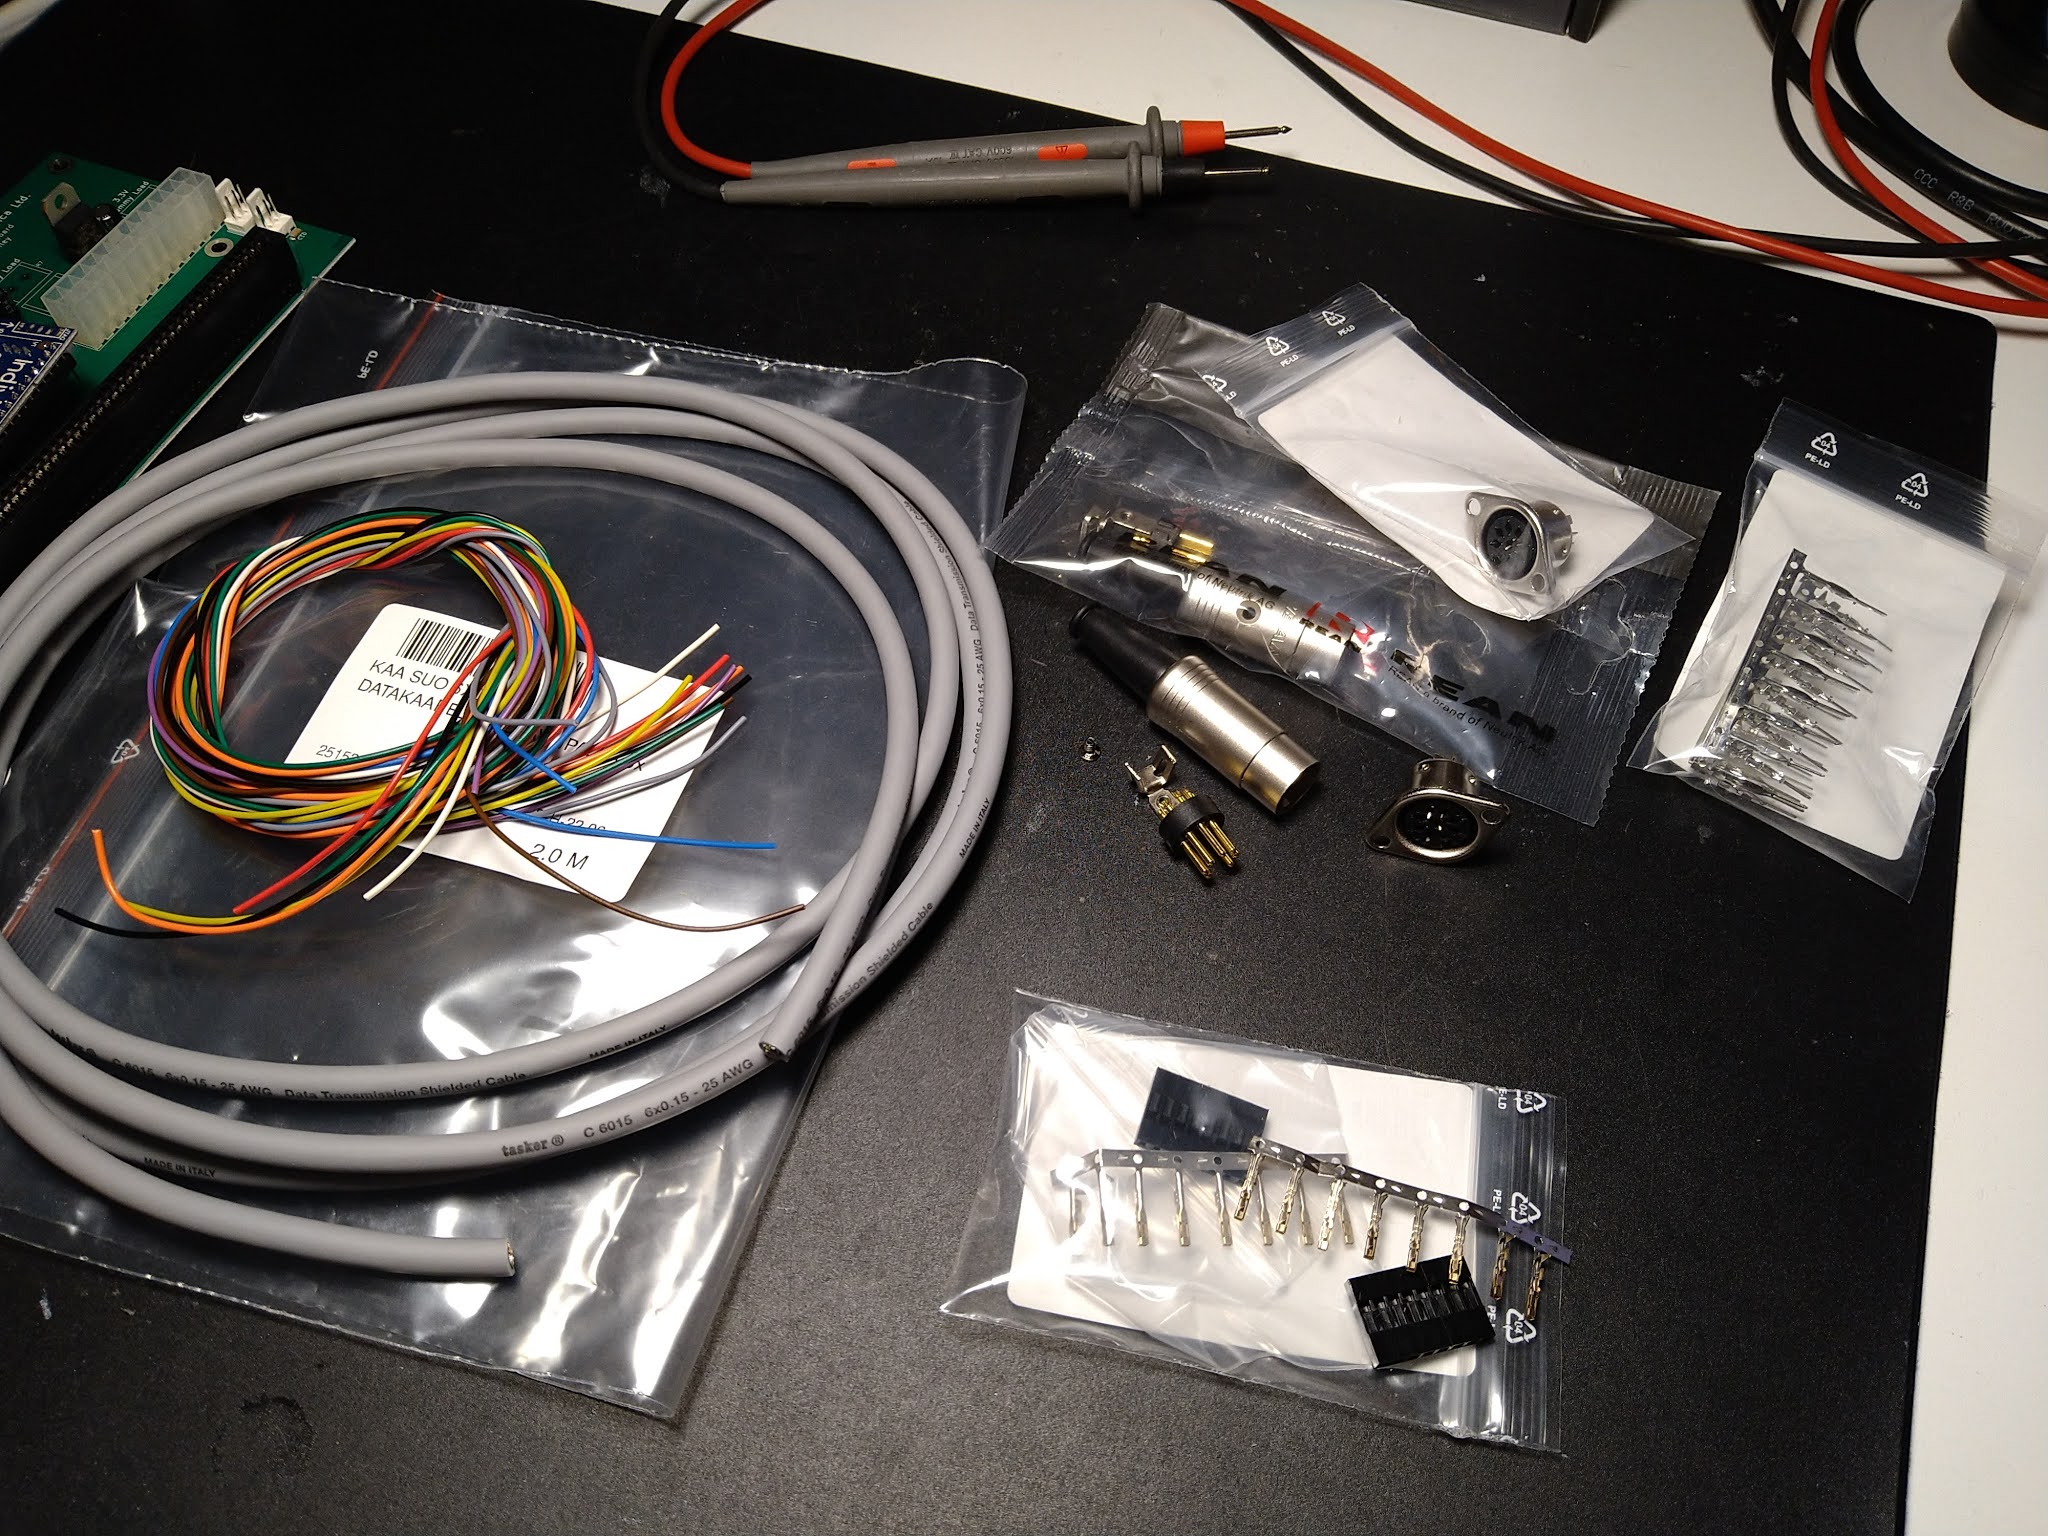
Cables, DIN-, and Harwin connectors for external and internal wiring of the keyboard. I plan to use Tasker 6 conductor (25 AWG each) plus metal shielding for the external cable. The Amiga keyboard needs a total of 7 pins, so shield will be ground, and the six wires dedicated for clock, signal, data, +5VDC, and two indicator LED's.

For a good crimp the Harwin connectors require a proper tool. I use an Engineer PA-09, which is a bit on pricey side, but it does and immaculate job. The DIN connector is just about soldering and some heat shrink to make it pretty.

Interal wiring harness for the Checkmate A1500 plus keyboard housing. I secured the connection with a zip tie just be sure. And that's it for the keyboard. The central unit harness will be covered in part two, since I haven't yet decided on how to wire up the activity LED's. Whether to have floppy led on the keyboard and HDD activity on the case front panel, or vice versa.

My disgustingly yellow A500 keyboard key caps don't look all that bad with black housing. Actually quite neat! First impressions is that the Amiga keyboard has quite a lot of flex in it. I might revisit this and build some support bracket inside the housing. After all, it's mostly empty inside.
The initial assembly of the central unit. The front panel has two 5,25" bays, which can be equipped with panels for different drive options. I decided to go with one 3½" floppy, and on 3½" square cut for a Gotek drive I'm still waiting for to arrive.

To be continued in part II.
Comments
Post a Comment